
Sourdough Glossary Terms
A guide to understanding some of the terms used in sourdough making.
Autolyse
Autolyse is a process in which you mix flour and water and let it rest before any other ingredients are added. The purpose of this process is to encourage certain chemical reactions (autolysis) that will benefit your sourdough bread. During autolyse, the water hydrates the flour, which in turn activates enzymes that help the dough become stronger and extensible. It also helps convert starches into sugars, which is important for the fermentation process.
Using autolyse makes the dough easier to handle—easier to perform stretch and folds, easier to shape the dough, and the dough should hold the shape better. And finally, dough that has undergone an autolyse is more likely to have a better oven spring and a softer crumb.
If you want to find out more about the benefits of autolyse, check our FAQ section.
Baker's Percentage
It’s a way bakers express ratios of ingredients as percentages. In these ratios, flour weight always represents 100% and all other ingredients are a percentage of the flour weight.
For example, if we use 1,000g of flour and 700g of water, the baker’s percentage will be 70% of water/hydration.
For other ingredients you may see something like 20% levain, 2% salt— this means (when flour is 1,000g) 200g levain and 20g salt. Using percentages helps adjust (scaling up or down) your recipe to the amounts you require.
To find out more about baker’s math, check our Calculators section.
Baking Timeline
The baking timeline, also called baking schedule, refers to the time required to prepare and bake sourdough bread. Because sourdough relies on natural fermentation, the whole process of bread baking takes considerably longer (typically about 24hrs) than baking with commercial yeast. While the process might seem lengthy, it is important that you are able to fit it in your everyday schedule.
Our recipes always suggest a timeline, which can be adjusted to your needs. However, while sourdough making takes time, you actually only need a few minutes for each of the stages. Once you understand the process and timings, you will know when you can leave the dough and continue with your everyday life, go out to work or go to sleep. It’s a skill to be learned, but once you master it, there should be no problem fitting the baking schedule into a busy lifestyle.
We recommend our printable Sourdough Record Keeping PDFs to record your timeline and keep track of your sourdough process.
Batard
The word ‘batard’ comes from French, and it means an oval-shaped loaf. Unlike a baguette, a batard is wider and shorter, usually 6-12 inches long and 4-6 inches wide.
Banneton
A proofing basket in which the dough is risen before the bread is baked. The shape and size of the basket will determine the shape and size of your final loaf. This means that, when choosing a banneton, you need to make sure that you consider how you will bake your loaf—e.g., if you have a Dutch oven, the proofing basket needs to have the appropriate shape and size to fit the loaf into the dish.
Bannetons can be made from different materials, with or without a liner. Rattan baskets with a liner are very common, but there are others made of wood pulp.
For our sourdough recipes you will need two bannetons with a 500g dough capacity.
Oval banneton (rough internal dimensions—top opening measured inside): 23 x 12.5 x 7.5 cm (Length x Width x Height) (9” x 5” x 3”)
Round banneton (rough internal dimensions—top opening measured inside): 20 x 8 cm (Diameter x Height) (8” x 3”)
Bench rest
Usually a 30 minute resting period that happens after the dough is pre-shaped and left on the counter (‘bench’) to relax. After the rest, the dough is shaped and placed in the proofing basket.
Bench scraper (dough scraper)
A bench scraper is a tool that is used to manipulate and handle the dough.
We tend to use two types of scrapers, for different purposes—one made of flexible plastic and another one made of metal.
The flexible plastic one has round edges and it is used for the initial mixing and kneading of the dough, scraping the dough out of the bowl and removing excess flour and dough from hands or work surfaces. The rounded edges make them really useful for scraping out bowls. And if you want to use them for cutting your dough, they will be less likely to damage your work surface compared to the metal ones.
The metal scraper is much more sturdy, typically made of stainless steel, with a wooden or plastic ‘handle’. It can be used to divide the dough into portions, to shape the bread into a round (very useful when pre-shaping), or to pick up the dough from a work surface. They are not designed for scraping dough from bowls because they’re inflexible and have a straight edge.
Boule
A round (ball-shaped) loaf. ‘Boule’ in French means ‘ball’ and that’s how traditionally the bread was shaped in France. And in France, those who were baking bread (and shaping it into ‘balls’) were and still are called boulangers. A bread bakery in French—‘boulangerie’—also comes from this word.
Bulk fermentation
Bulk fermentation is the first rising of the dough. It's called bulk fermentation because the dough ferments as one ‘bulk’ mass before being divided into smaller portions and shaped. The time it takes for the bulk fermentation to complete depends on various factors, such as flour used, the temperature in your kitchen, even the time of the year. You’ll need to learn to observe the dough to know when the bulk is finished, otherwise your bread might be over—or under—proofed.
You can read more about the bulk ferment and when is it finished in our FAQs.
Coil folds
It is one of the techniques used to strengthen the dough and help gluten development.
Coil fold is similar to the stretch and fold technique, but it’s gentler to the dough as it relies on surface tension and gravity. This method is typically used in dough with higher hydration.
To do a coil fold, lift the dough with both hands from the middle, until one end releases from the proofing container/bowl. The second step is to gently lower the dough to allow the loosened end to tuck under the middle. Then repeat with the other side of the dough. The dough should look like it is folded over itself. Turn the dough 90 degrees and repeat these steps until the dough does not stretch very far anymore, and holds its shape.
Cold retard
Cold retard is often referred to as the second or final rise, cold ferment or cold proof.
It is basically ‘retarding’ the dough in the fridge after it has been shaped and placed in the basket. You’ll typically need to allow between 8-12 hours for this stage, but it can last as long as 24 hours, so the timings can be adjusted to fit your routine. Cold proof is usually done overnight, so that your dough is ready for baking the next morning.
The retard slows the fermentation process and, at the same time, helps the flavour to develop. The longer the cold retard, the more sour your bread will be.
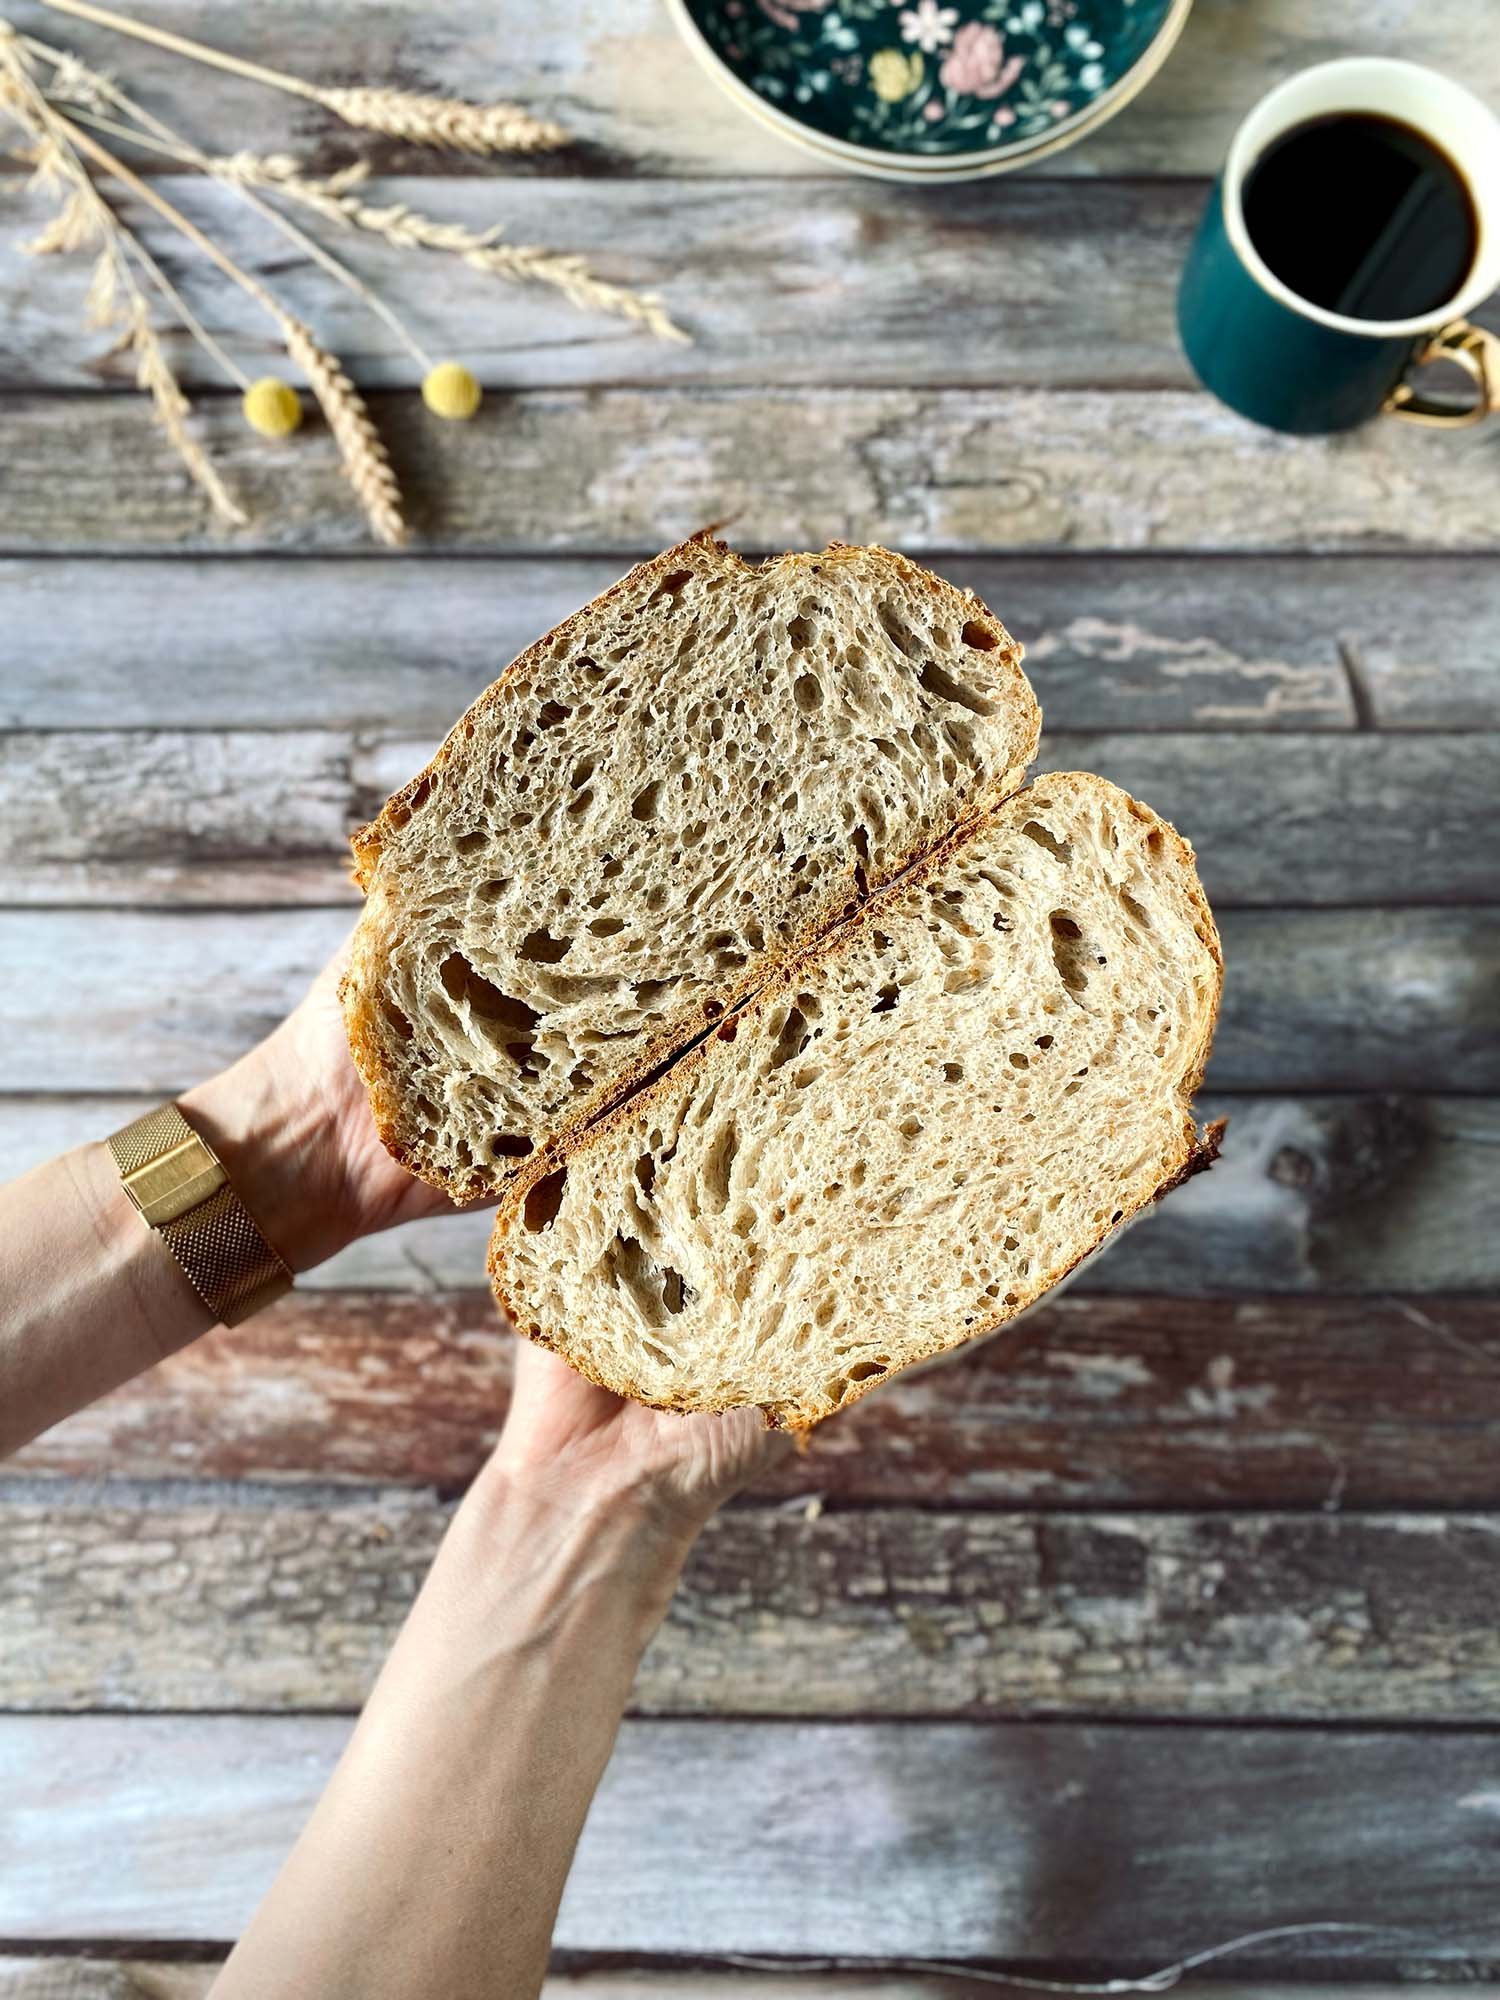
Crumb
The texture and appearance of the inner part of a loaf of bread. The crumb can be either ‘open’ (lots of irregular holes) or ‘closed’ (fine-textured). The crumb will usually reveal if the proofing was done correctly—or whether it is over—or under—proofed.
If the crumb looks inconsistent—tight or dense with one to two large bubbles in just one area of the crumb—then it is probably under-proofed. The bread may look like it has risen a lot during baking, but the rise alone is not an indication of an appropriate proofing time. If the crumb is tight, and the bread is rather flat, it might be an indication of over-proofing.
Tight crumb may also be a sign of an inaccurate hydration, but it could also be a result of the flour used in the recipe. Rye bread will have a much tighter crumb than white bread.
The ‘crumb shot’ refers to a photo of a cross section of the bread. If you are wondering whether or not your bread is baked correctly, we are happy to answer any questions you may have.
Discard
As part of a routine starter maintenance (regular feeding), some of the starter needs to be disposed of, basically to ‘make room’ for fresh flour and water. You need to feed your starter with at least 1:1:1 ratio (starter:flour:water), so if you don’t discard any of the starter before feeding again, the amount will quickly become unnecessarily large. To keep the wastage to the minimum, you can use discard starter in pancakes, muffins, and other recipes.
Check out our Sourdough Discard Brownies recipe.
Dutch oven
A cast iron dish with a lid, in which sourdough is baked. Investing in a Dutch oven will be a game changer for your bread baking, because of its ability to trap steam. And lots of steam is needed for sourdough bread to rise in the oven and create an open crumb. Dutch ovens are available in different sizes, both in a round or oval shape. It is best to choose one that will be compatible with your proofing basket in terms of size and shape.
If you want to know more about Dutch ovens and why to use them, check our FAQs section.
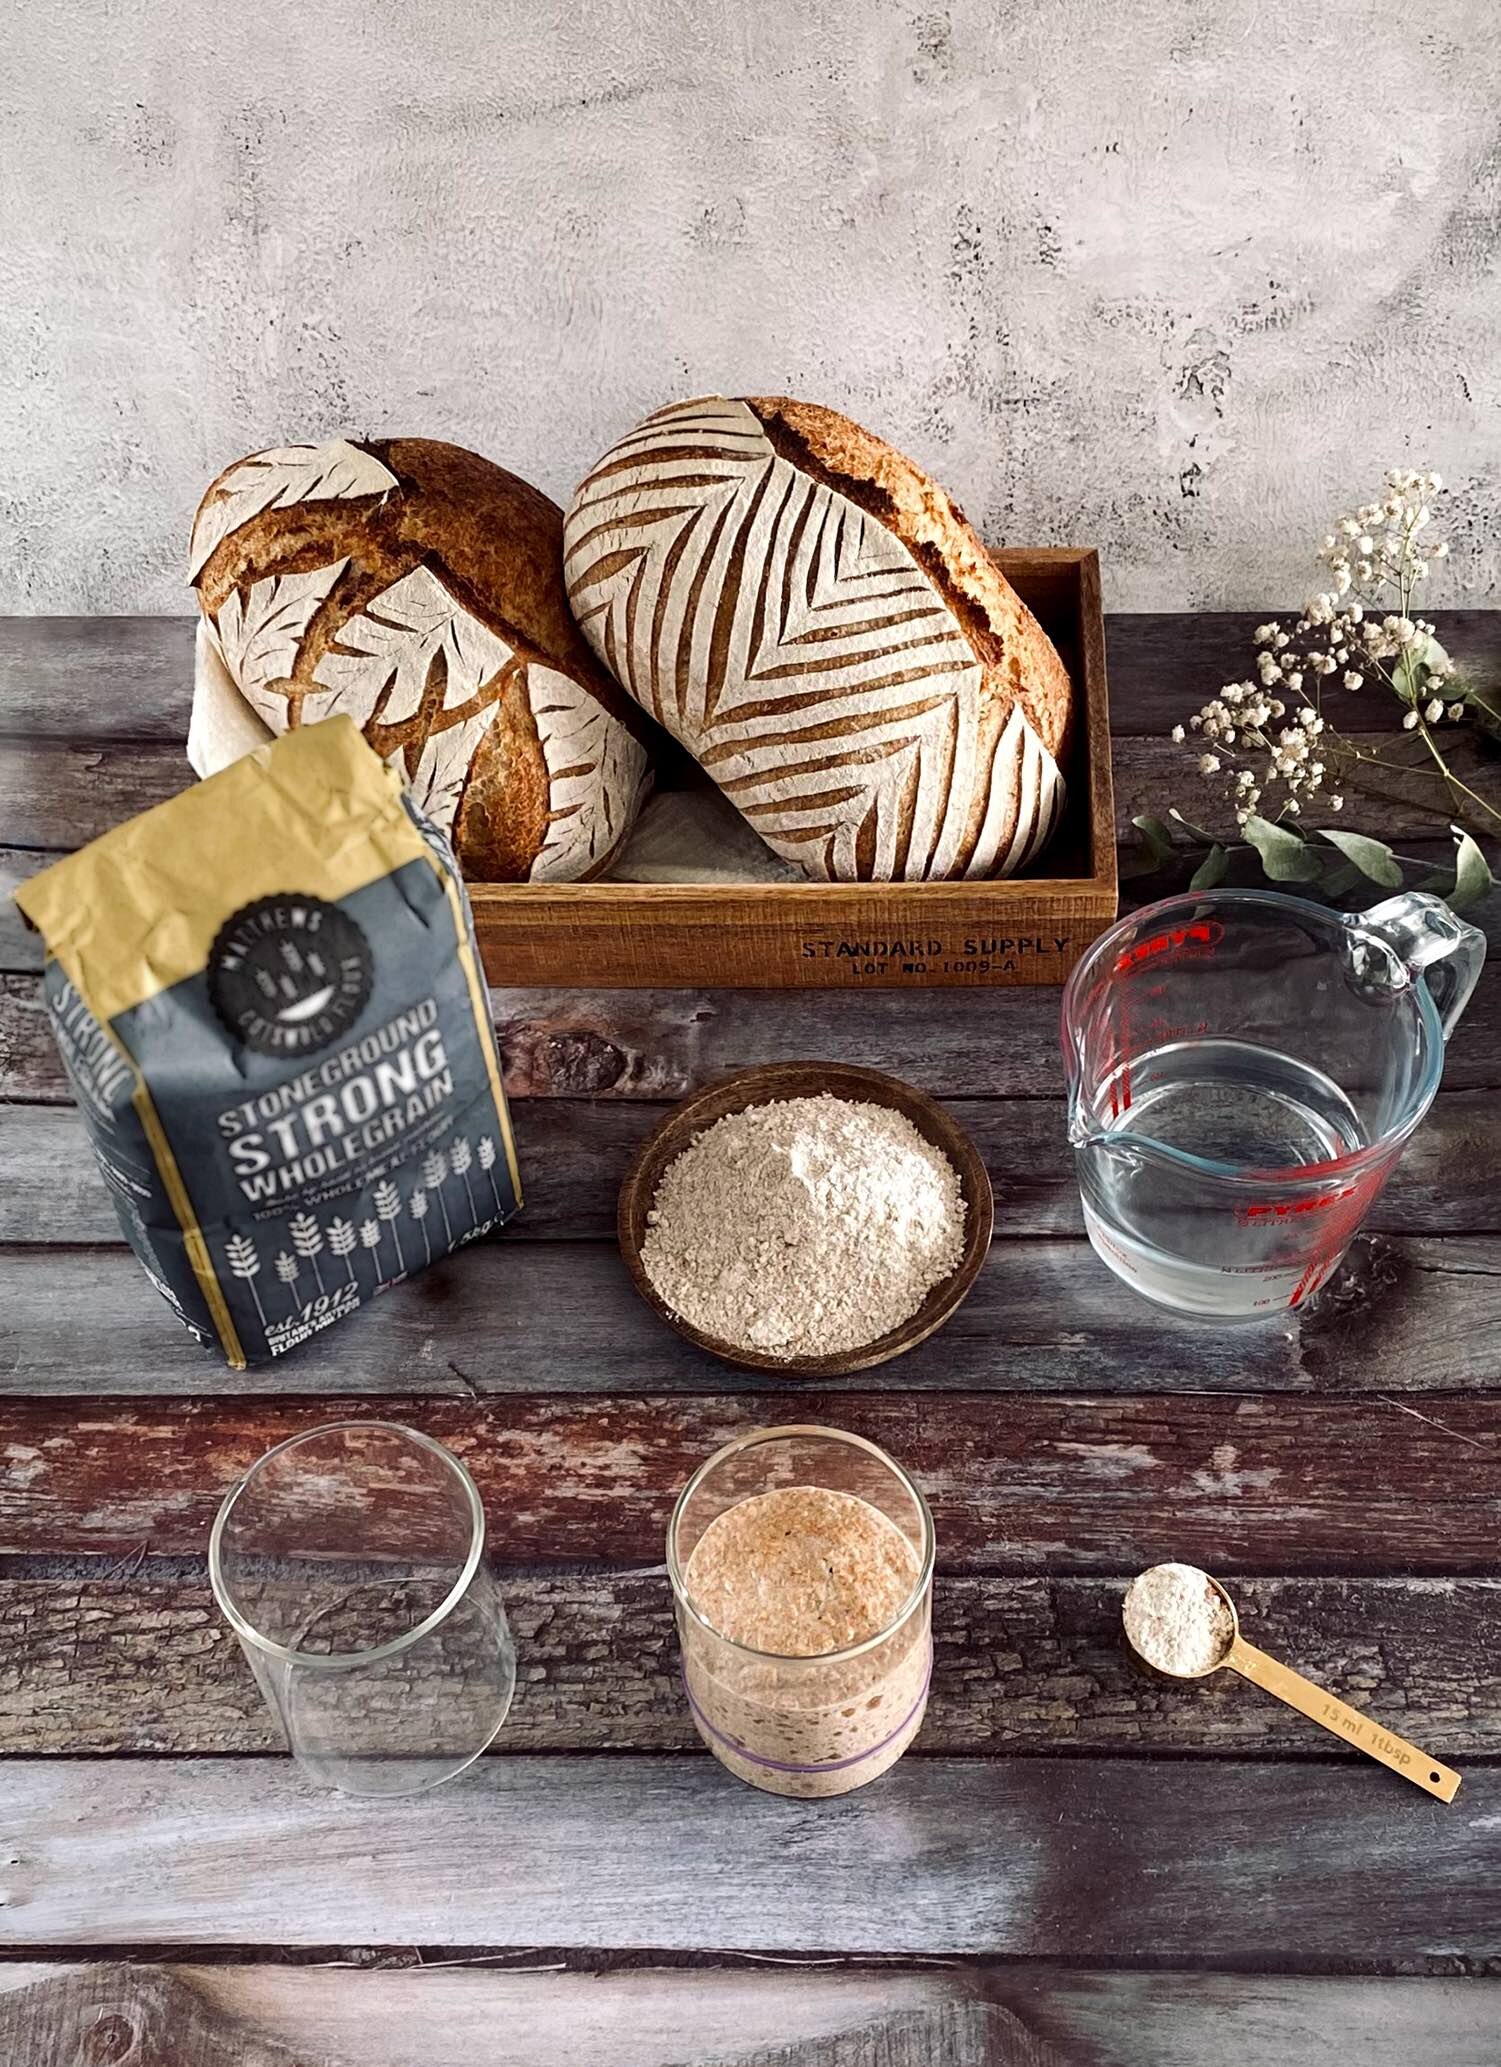
Float test
The float test is performed to check if the starter/levain is ready to be used in your recipe.
Simply take a glass of tepid water and add a teaspoon of sourdough starter or levain into it. Do not stir. If the starter floats—it has enough air trapped inside so that it is able to float—it is considered ready to be used in your recipe. If it sinks, it can either mean you need to wait a little longer for it to develop and ferment, or it can mean you passed the peak and you will need to feed it again before you can use it in the recipe. If your starter hasn’t reached its peak yet (or it hasn’t at least doubled in size) when the float test is performed, then it means you need to wait a little longer.
The float test may not always be accurate, so use your own judgement.
Feeding
The process of adding flour and water to your sourdough starter in order to maintain its balance of wild yeast and bacteria. Feeding can be done daily (even 3 times a day) or once a week or every fortnight. How frequently you feed your starter will usually depend on where you tend to keep your starter—storing at room temperature will require a more regular feeding, while keeping it in the fridge will mean you can feed it once a week or so. If you don’t bake sourdough bread regularly (at least once a week), you should still refresh your starter at least once every couple of weeks, to make sure it is still active.
Fermentation
The process where yeast converts sugar to carbon dioxide and alcohol. Carbon dioxide is trapped as tiny pockets of air within the dough, causing it to rise. During baking the carbon dioxide expands and causes the bread to rise further. The alcohol produced by the yeast during fermentation is what gives sourdough bread its characteristic flavors and aroma. Generally speaking, the longer you allow the dough to proof and ferment, the more flavour will develop. Bread fermented for longer will become more sour—this is especially true during the cold retard.
It is generally considered that naturally-fermented sourdough bread is healthier than bread that is made using commercial yeast. Sourdough is more nutritious, easier to digest, and has a lower glycemic index. It also contains less gluten than other breads.
Final shape
It is the last shaping of the dough before it is placed it in the basket for cold retard or final rise.
Gluten
The protein found in grains such as wheat, barley and rye. When combined with water, gluten gives structure to baked goods, including bread.
While sourdough contains gluten, it is believed that many people with gluten intolerance, or gluten sensitivity, can tolerate sourdough bread. This is because the methods used in sourdough making break down some of the gluten in the flour, producing bread that is easier to digest.
Hooch
Hooch is the liquid that forms on top of the sourdough starter indicating the starter is ‘hungry’. In most cases you don’t need to discard the hooch, just stir it into your starter and feed it with fresh flour and water. However, if the hooch is very dark (which usually happens after the starter has been sitting in the fridge for a very long time without being fed), pour it away. If this is the case, you may have to check if the whole starter needs to be thrown away.
More on starter maintenance and when to discard it can be found in our article here.
Hydration
Hydration refers to the amount of water in your dough in relation to the flour used. In sourdough recipes you may often see references to the hydration worked out in percentages, e.g. 75% hydration. This is calculated by dividing the amount of water in the recipe by the amount of flour used. For example, if the recipe calls for 750g water and 1000g flour, the hydration will be 750/1000 = 75%.
High hydration is considered anything above 80%. Generally speaking, a dough with lower hydration (up to 70%) is usually easier to work with. If you are new to sourdough baking, it is advisable to select a recipe with a hydration no greater than 70%. The hydration level in our Beginner’s Sourdough recipe is 68%—perfect for those new to sourdough bread baking. Once you get comfortable with the recipe, you can start experimenting with higher hydration levels.
Lame
A tool to score or slash the dough just before it’s placed in the oven. The slash helps the dough expand in the oven in a controlled way and it is important in crumb structure development during baking.
For most of our scoring we use Wire Monkey lames de boulouger. They can be purchased (with a 10% discount) here.
Lamination
Lamination is a process that refers to stretching the dough out on a work surface into a thin sheet and then folding it up again. It is usually performed towards the end of bulk fermentation and it is often used to add toppings, such as seeds, olives, nuts, etc.
It is generally easier to perform with a dough of a higher hydration and it should be done when the dough reached optimal gluten development (to allow the dough to stretch without tearing).
Levain
A levain, also called a leaven or levain starter is a bigger, younger version of your sourdough starter. It is typically prepared on the day when you want to mix your sourdough and contains a small part of a ripe starter, together with a larger part of fresh flour and water. As with the starter, you will need to wait several hours after you mix your levain, before it is ready to be used in your recipe. It is typically added as a whole batch when making sourdough.
Maintenance (starter maintenance)
The feeding regimen used to sustain a sourdough starter for use in baking.
Sourdough starter needs to be fed about once per week if stored in the fridge, and daily if kept at room temperature. Find out more in the Feeding description above or in our starter maintenance article.
Mother (mother-dough)
Mother refers to your sourdough starter or pre-ferment—a leavening agent that uses naturally occurring yeasts and bacteria to make baked goods rise. A portion of it is either directly used in a recipe or used to create levain or leaven for your sourdough bread.
You can find out more about how to make mother/starter from scratch here.
Naturally leavened
A term for sourdough bread that receives its rise from naturally occurring wild yeasts, as opposed to using commercial baker's yeast.
Oven spring
When bread dough is placed in a hot oven, the yeast’s activity increases rapidly, resulting in a production of a large amount of carbon dioxide, which in turn makes the dough expand in the initial phase of baking.
Poke test
This test is used to check whether your bread has fermented sufficiently and it’s ready to bake. As the name suggests, you press or ‘poke’ on the dough surface with your finger to see how it springs back, if at all. (TIP: to avoid the dough sticking to your finger, lightly sprinkle the surface with some flour).
The poke test will result in either of the following:
Under-proofed dough—when the dough springs back very quickly, filling back the indent
Properly proofed dough—when the dough springs back slowly, filling back the indent, but not fully
Over-proofed dough—when the dough leaves an indent and does not fill back up
The poke test is not perfect, so you may need to use your judgment when it comes to knowing when the dough is ready for baking.
Poolish
A poolish is a type of sourdough starter or pre-ferment, where in addition to flour and water, commercial yeast is also added. This means there is much less time required for the poolish to reach its peak, as compared to a starter that only uses wild yeast.
Pre-ferment
Also called sourdough starter or mother—a leavening agent that uses naturally occurring yeasts and bacteria to make baked goods rise. A portion of it is either directly used in a recipe or used to create levain or leaven for your sourdough bread.
Proofing
The rise of the dough before it is ready for baking.
Proofing Basket
A proofing basket is a vessel used for the final rise of the dough before the bread is baked.
The shape and size of the basket will determine the shape and size of your final loaf. This means that when choosing a basket, you need to consider how you will bake your loaf—if you have a Dutch oven, the proofing basket needs to be of an appropriate shape and size to fit the loaf into the dish. Proofing baskets can be made from different materials, and they come with or without a liner. Rattan baskets with a liner are very common, but those made of wood pulp are also a very good option.
For our sourdough recipes you will need two small baskets, with a 500g dough capacity.
Oval basket (rough internal dimensions—top opening measured inside): 23 x 12.5 x 7.5 cm (Length x Width x Height) (9” x 5” x 3”)
Round basket (rough internal dimensions—top opening measured inside): 20 x 8 cm (Diameter x Height) (8” x 3”)
Resting
In general, resting refers to the time dedicated for the dough to relax and to allow gluten development.
The resting time is used multiple times throughout the sourdough making process. You may let the dough rest for 30-45 min between each stretch & fold set or between coil folds. Or allow a 30 min rest before the final shaping.
Ripe starter
A mature starter that's ready to use in baking. Ripe starter will have increased in volume (at least doubled in size), have lots of bubbles, and have a fresh, acidic aroma.
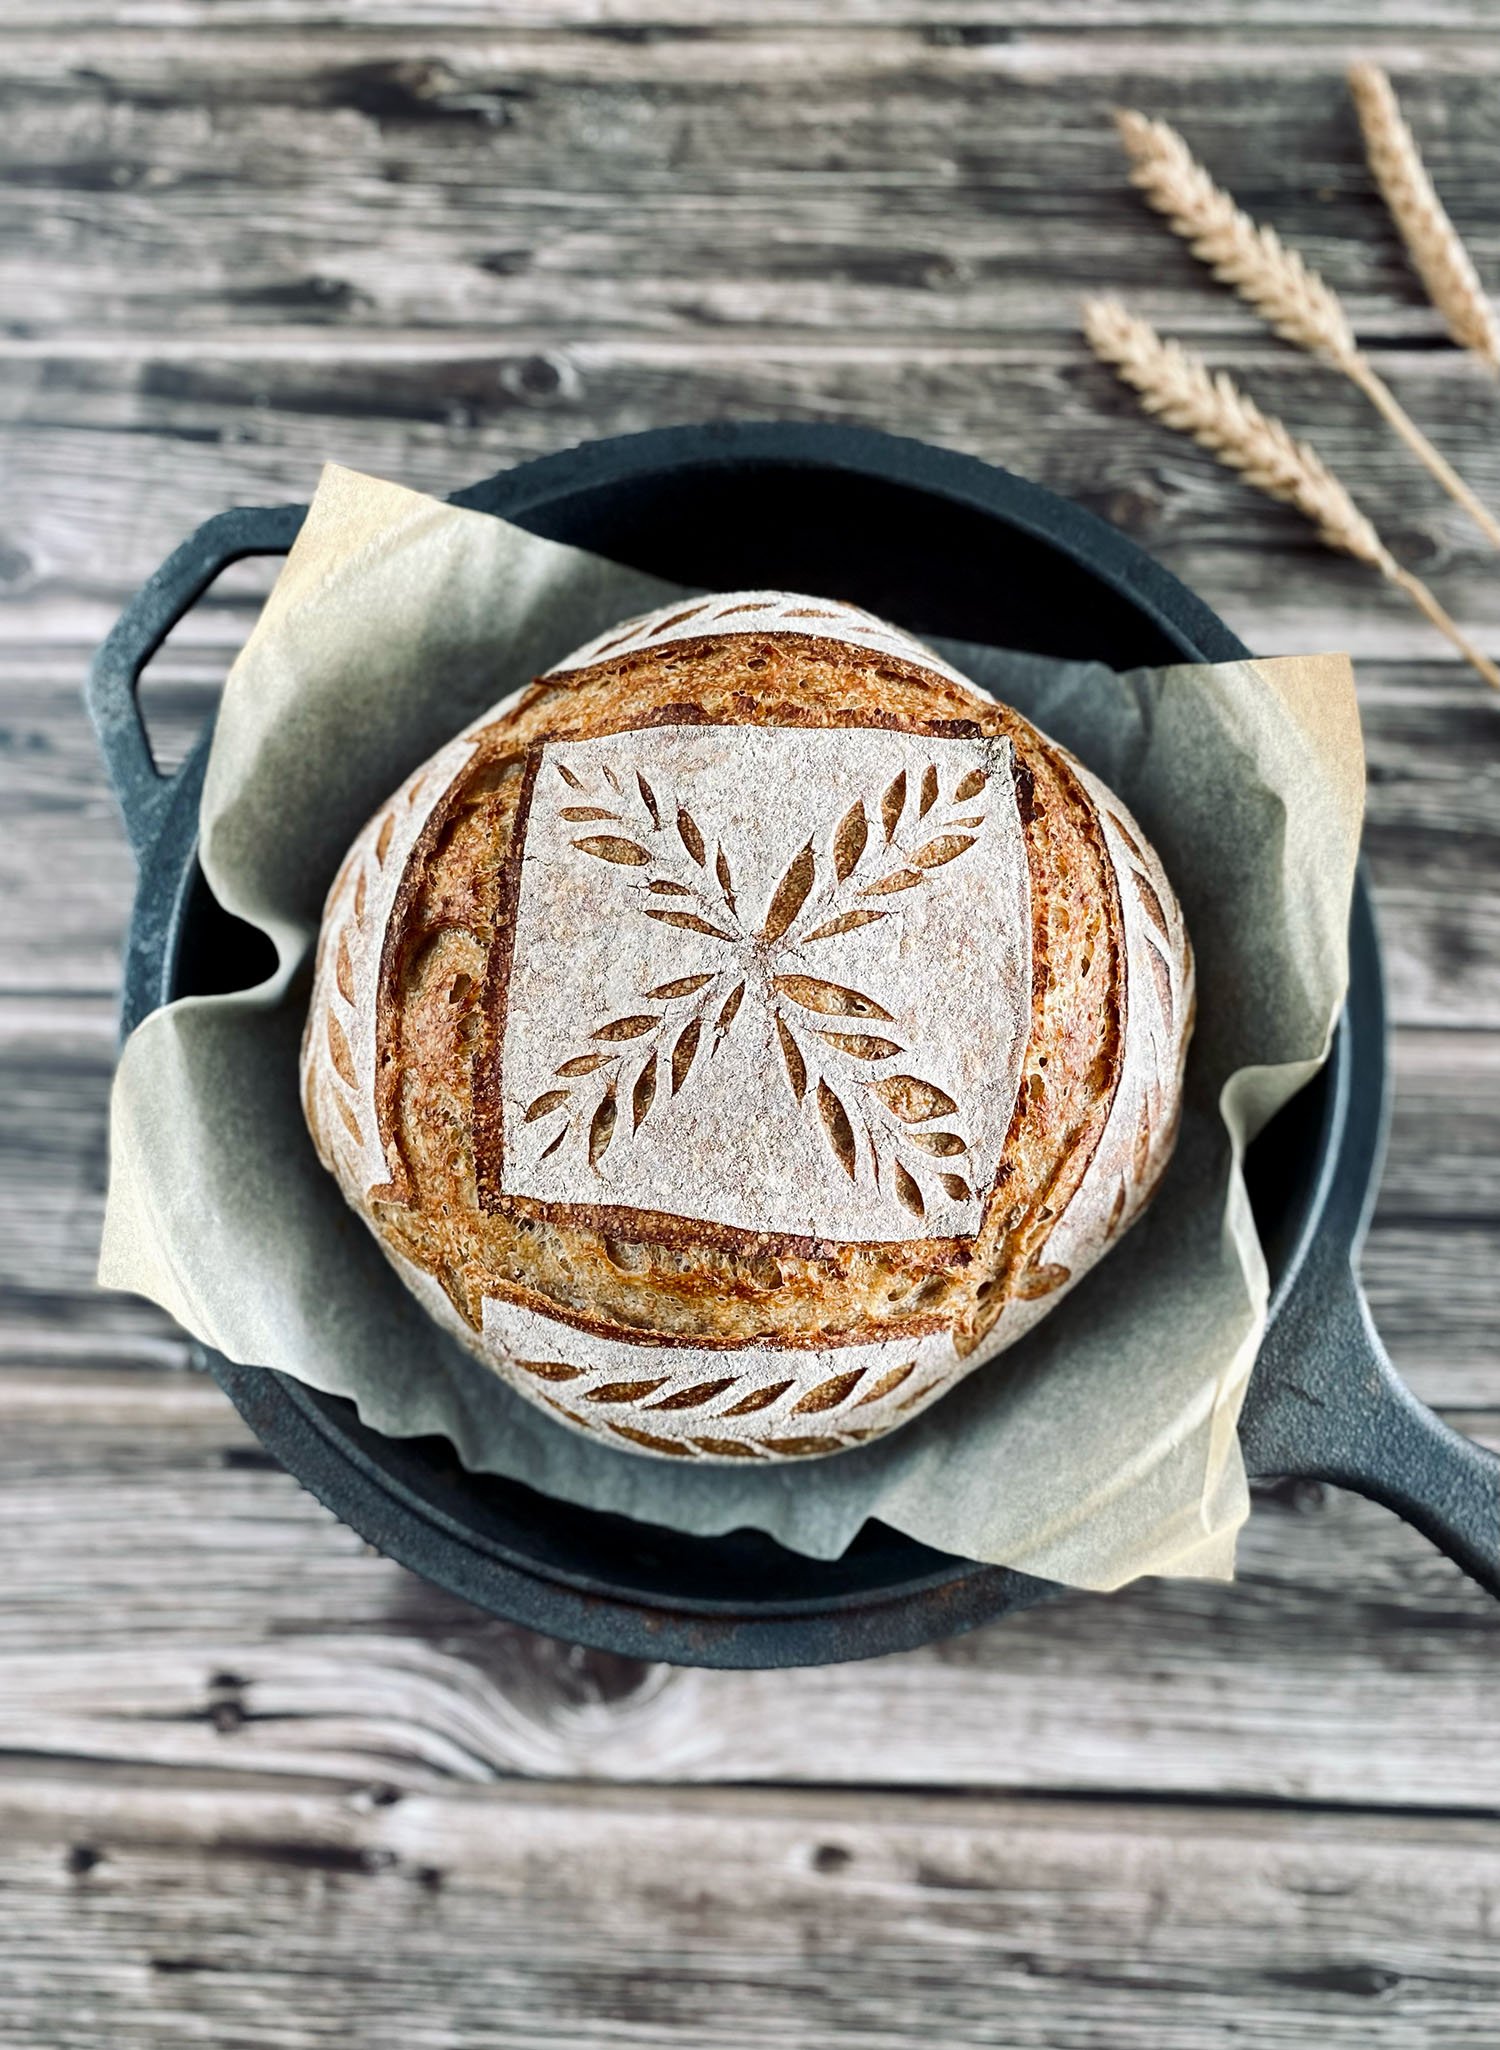
Scoring/Slashing
Making cuts on the surface of a proofed dough just before baking. Scoring helps the dough expand in the oven in a controlled way. It facilitates improved oven spring, good internal crumb structure, and appearance.
Scoring is best done with a sharp blade (a ‘lame’) rather than a knife.
For most of our scoring we use Wire Monkey lames de boulanger. They can be purchased (with a 10% discount) here.
If you are keen on improving your scoring technique, check our article on scoring tips.
Second rise
Second rise refers to the period after bulk fermentation when you allow the dough to rise for the second time.
Shaping
Shaping of the dough is done after the bulk fermentation is completed. You’d typically pre-shape the dough first, let it rest for 30 minutes and then perform the final shape.
Final shaping is important to get some tension on the surface of the dough—which in turn helps to achieve a good oven spring, a consistent crumb and if appropriately scored, an ‘ear’.
There are various shaping techniques you can choose from—you can try a few of them and see which one works better for you. The techniques might be different depending on the shape of your dough—round, oval or baguette.
Sourdough starter
A culture of wild yeast and bacteria that, when properly maintained, leavens and flavours bread. It can also be called mother or pre-ferment.
You can find out more on how to make a starter from scratch here.
Stretch & fold
This method is used to strengthen the dough and help gluten development. It is done during bulk fermentation of the dough, usually performed four times in 30 min intervals.
Stretch and fold is done by stretching the dough out and then folding it over itself. One set of stretch and fold is based on 4 stretches—by working your way around the dough in a clockwise direction.
Windowpane test
The windowpane test is performed to check gluten development. Bakers use it during kneading or while stretching and folding to determine whether the dough is ready to move to the next step of sourdough making.
To perform the test you need to pull a small piece of dough and stretch it gradually between your fingers to create a ‘window pane’. If the dough stretches really thin (so you can see light through it), then the gluten has developed sufficiently. If the dough tears, or does not stretch much, more development is needed.
Related sections:
-
Starter Recipe
Learn how to make a sourdough starter from scratch.
-

Starter Maintenance
Our maintenance guide to keep your starter alive and healthy.
-

Beginner’s Bread Recipe
Step-by-step instructions to make your first sourdough bread.
-
Baking Tools
A list of the basic tools you’ll need in your sourdough making process.
-
Sourdough FAQs
Your most common sourdough questions answered.
-
Glossary Terms
A guide to understanding some of the terms used in sourdough making.