How To Make Sourdough Focaccia

Focaccia is one of the most satisfying breads you can bake at home. With its crisp golden crust, pillowy crumb, and generous drizzle of olive oil, it’s a showstopper that’s surprisingly easy to make. What makes sourdough focaccia even more special is the added depth of flavour: the gentle tang of a natural starter balances perfectly with sweet or savoury toppings.
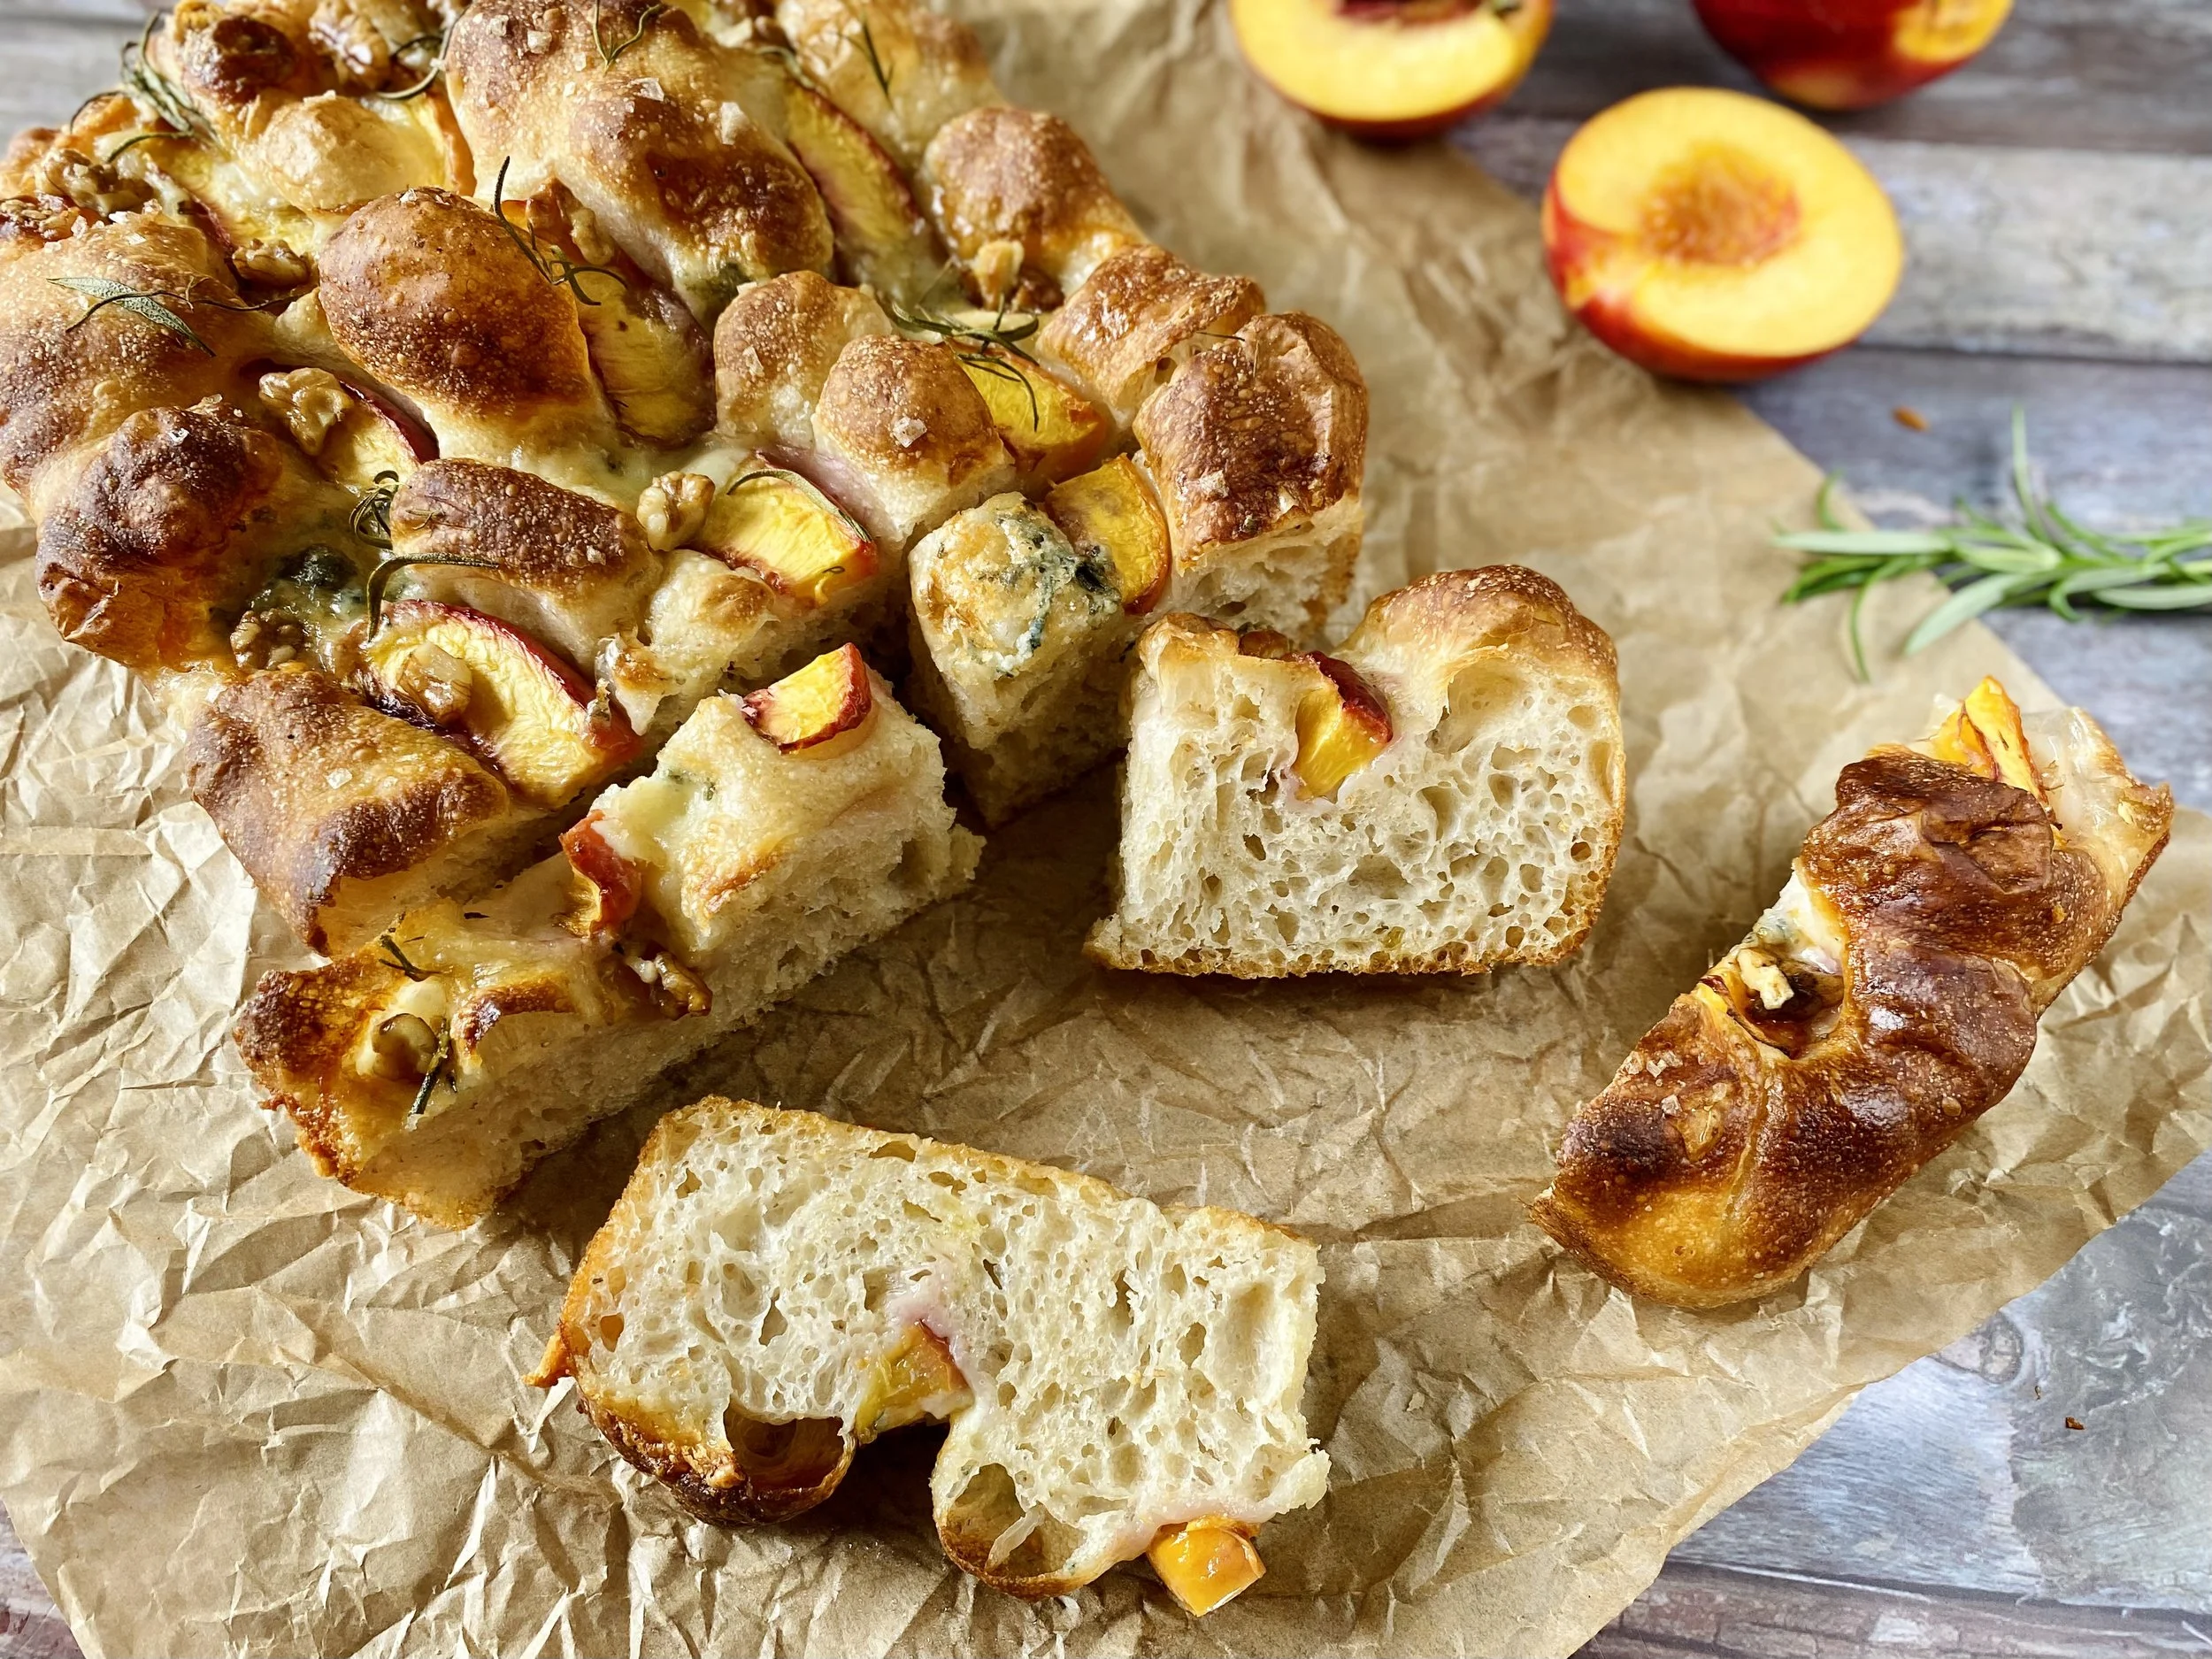
This recipe uses a simple sourdough base enriched with honey, finished with your choice of toppings. We used nectarines, blue cheese, rosemary, and candied walnuts for a sweet-and-savoury twist, but you’ll find plenty of topping inspiration below. Whether you’re hosting friends, making a weekend bake, or simply want a bread that doubles as dinner, this focaccia won’t disappoint.
Flour choice
Stick to a good-quality strong white bread flour, but avoid one that’s too high in protein (above ~12%). Extra-high protein can make focaccia overly chewy, when what you’re aiming for is a light, airy crumb with a tender bite. To balance the protein level, you can swap part of the strong flour for all-purpose flour—just keep an eye on hydration. Lower-protein flour (such as all-purpose) absorbs less water, so you may need to reduce the amount of water by a few percent.
If you prefer a heartier loaf, you can replace 20-30% of the white flour with whole wheat. This will make the crumb slightly denser while adding a nutty, wholesom flavour.
Toppings choice
One of the joys of focaccia is its versatility — you can go simple with a drizzle of olive oil and herbs, or turn it into a flavour-packed centrepiece with sweet or savoury toppings. Here are a couple of best practices before you choose:
Avoid overly wet toppings: Ingredients like fresh tomatoes, peaches, or plums can release too much liquid during baking, weighing the dough down and making it gummy. If using them, slice thinly, and don’t overload the surface.
Balance your flavours: Focaccia is rich in olive oil, so salty, sweet, and herbal toppings all work beautifully. Just don’t go too heavy — focaccia is at its best when it’s rustic and light.
Classic Toppings
Cherry tomatoes & olives
Rosemary & sea salt
Caramelised onions & thyme
Garlic & olive oil
Potato & rosemary
Creative Combinations
Blue cheese & nectarines with candied walnuts
Gorgonzola with figs or plums
Caramelised onion with black olives & thyme
Peach, rosemary & goat’s cheese

Recipe Step-By-Step
For this recipe, we’ve gone with one of our favourite flavour pairings — a perfect balance of sweet and savoury. Juicy, fragrant nectarines contrast beautifully with the bold, salty punch of blue cheese, while candied walnuts add a satisfying crunch to finish it off. Fresh rosemary ties everything together with a subtle herbal note, making this focaccia as impressive to serve as it is delicious to eat. Of course, the beauty of focaccia is its versatility — feel free to swap in your own toppings or use our suggestions to make it truly your own.
Ingredients
Tray size 20x30 cm
100g active starter/levain (refreshed and at peak activity)
500g strong white bread flour
400g water
10g salt
2 tbsp honey
Extra virgin olive oil, for tray and drizzling
Toppings of choice: e.g., nectarines, blue cheese, fresh rosemary, and candied walnuts
Steps
STEP 1 | Mix the dough
In a large mixing bowl, whisk together the starter and 390g of water until combined. Add the flour and knead until the mixture comes together into a smooth dough. Cover and let it rest for 60 minutes.
STEP 2 | Add salt
Add salt, honey and the remaining 10g of water. Knead again until everything is incorporated. Cover the bowl and let the dough rest for 30 min.

STEP 3 | Bulk fermentation
Over the next 2 hours, perform 4 sets of coil folds, leaving about 30 minutes between each set. After the final fold, allow the dough to rest until it has doubled in size.
STEP 4 | Cold proof
Oil a 20x30cm baking tray. Transfer the dough into the tray, gently stretching it to fit. Cover and refrigerate overnight (about 12 hours).

STEP 5 | Arrange the toppings
The next morning, take the dough out of the fridge and let it proof at room temperature for 1–2 hours, until slightly puffy. Drizzle generously with olive oil, then with oiled fingers dimple the surface, pressing firmly to create deep pockets. Arrange your chosen toppings evenly across the dough.
NOTE: If using candid walnuts, add them during in the last 5 minutes of baking, as they burn easily.
STEP 6 | Bake the focaccia
Bake in preheated oven for 25-35 minutes at 220°C/440°F until golden brown on top and crisp around the edges.
Once baked, let the focaccia cool in the tray for a few minutes, then transfer it to a wire rack to cool completely before slicing.
If you have any questions, leave a comment below.
Happy baking! 👩🏻🍳🌾🤍

Frequently Asked Questions
Can I use a different tray size?
This recipe is designed for a 20x30cm tray. If your tray is smaller, scale down the recipe so the dough fits comfortably. For a larger tray, you can either use the same amount of dough (resulting in a thinner focaccia) or scale up the recipe to achieve the same height.
Can I skip the overnight proof?
Yes, you can bake the same day, as long as the dough is fully proofed.
Do I need all the topping?
If you prefer, you can make the focaccia plain, just drizzled with some extra virgin olive oil and sprinkled with some sea salt.
Why didn’t my focaccia rise properly?
This could be due to an underactive starter, too short a bulk fermentation, or an overly cold environment. Make sure your starter is bubbly and at peak activity before mixing. and that the dough at least doubles in size before you bake it.
How do I get big air bubbles in focaccia?
Use a strong, active starter, give the dough enough time to bulk ferment, and don’t knock out too much air when transferring it to the tray. The overnight proof in the fridge also helps create an airy crumb.
If you require more detailed recipe instructions, refer to our Beginner’s Sourdough Recipe.
And if you haven’t baked sourdough bread before, or need more guidance, check our New To Sourdough Baking section, where you can find details such as how to make your starter from scratch or the tools required to bake your first loaf of bread (including some of the tools we personally recommend).
What’s Next?
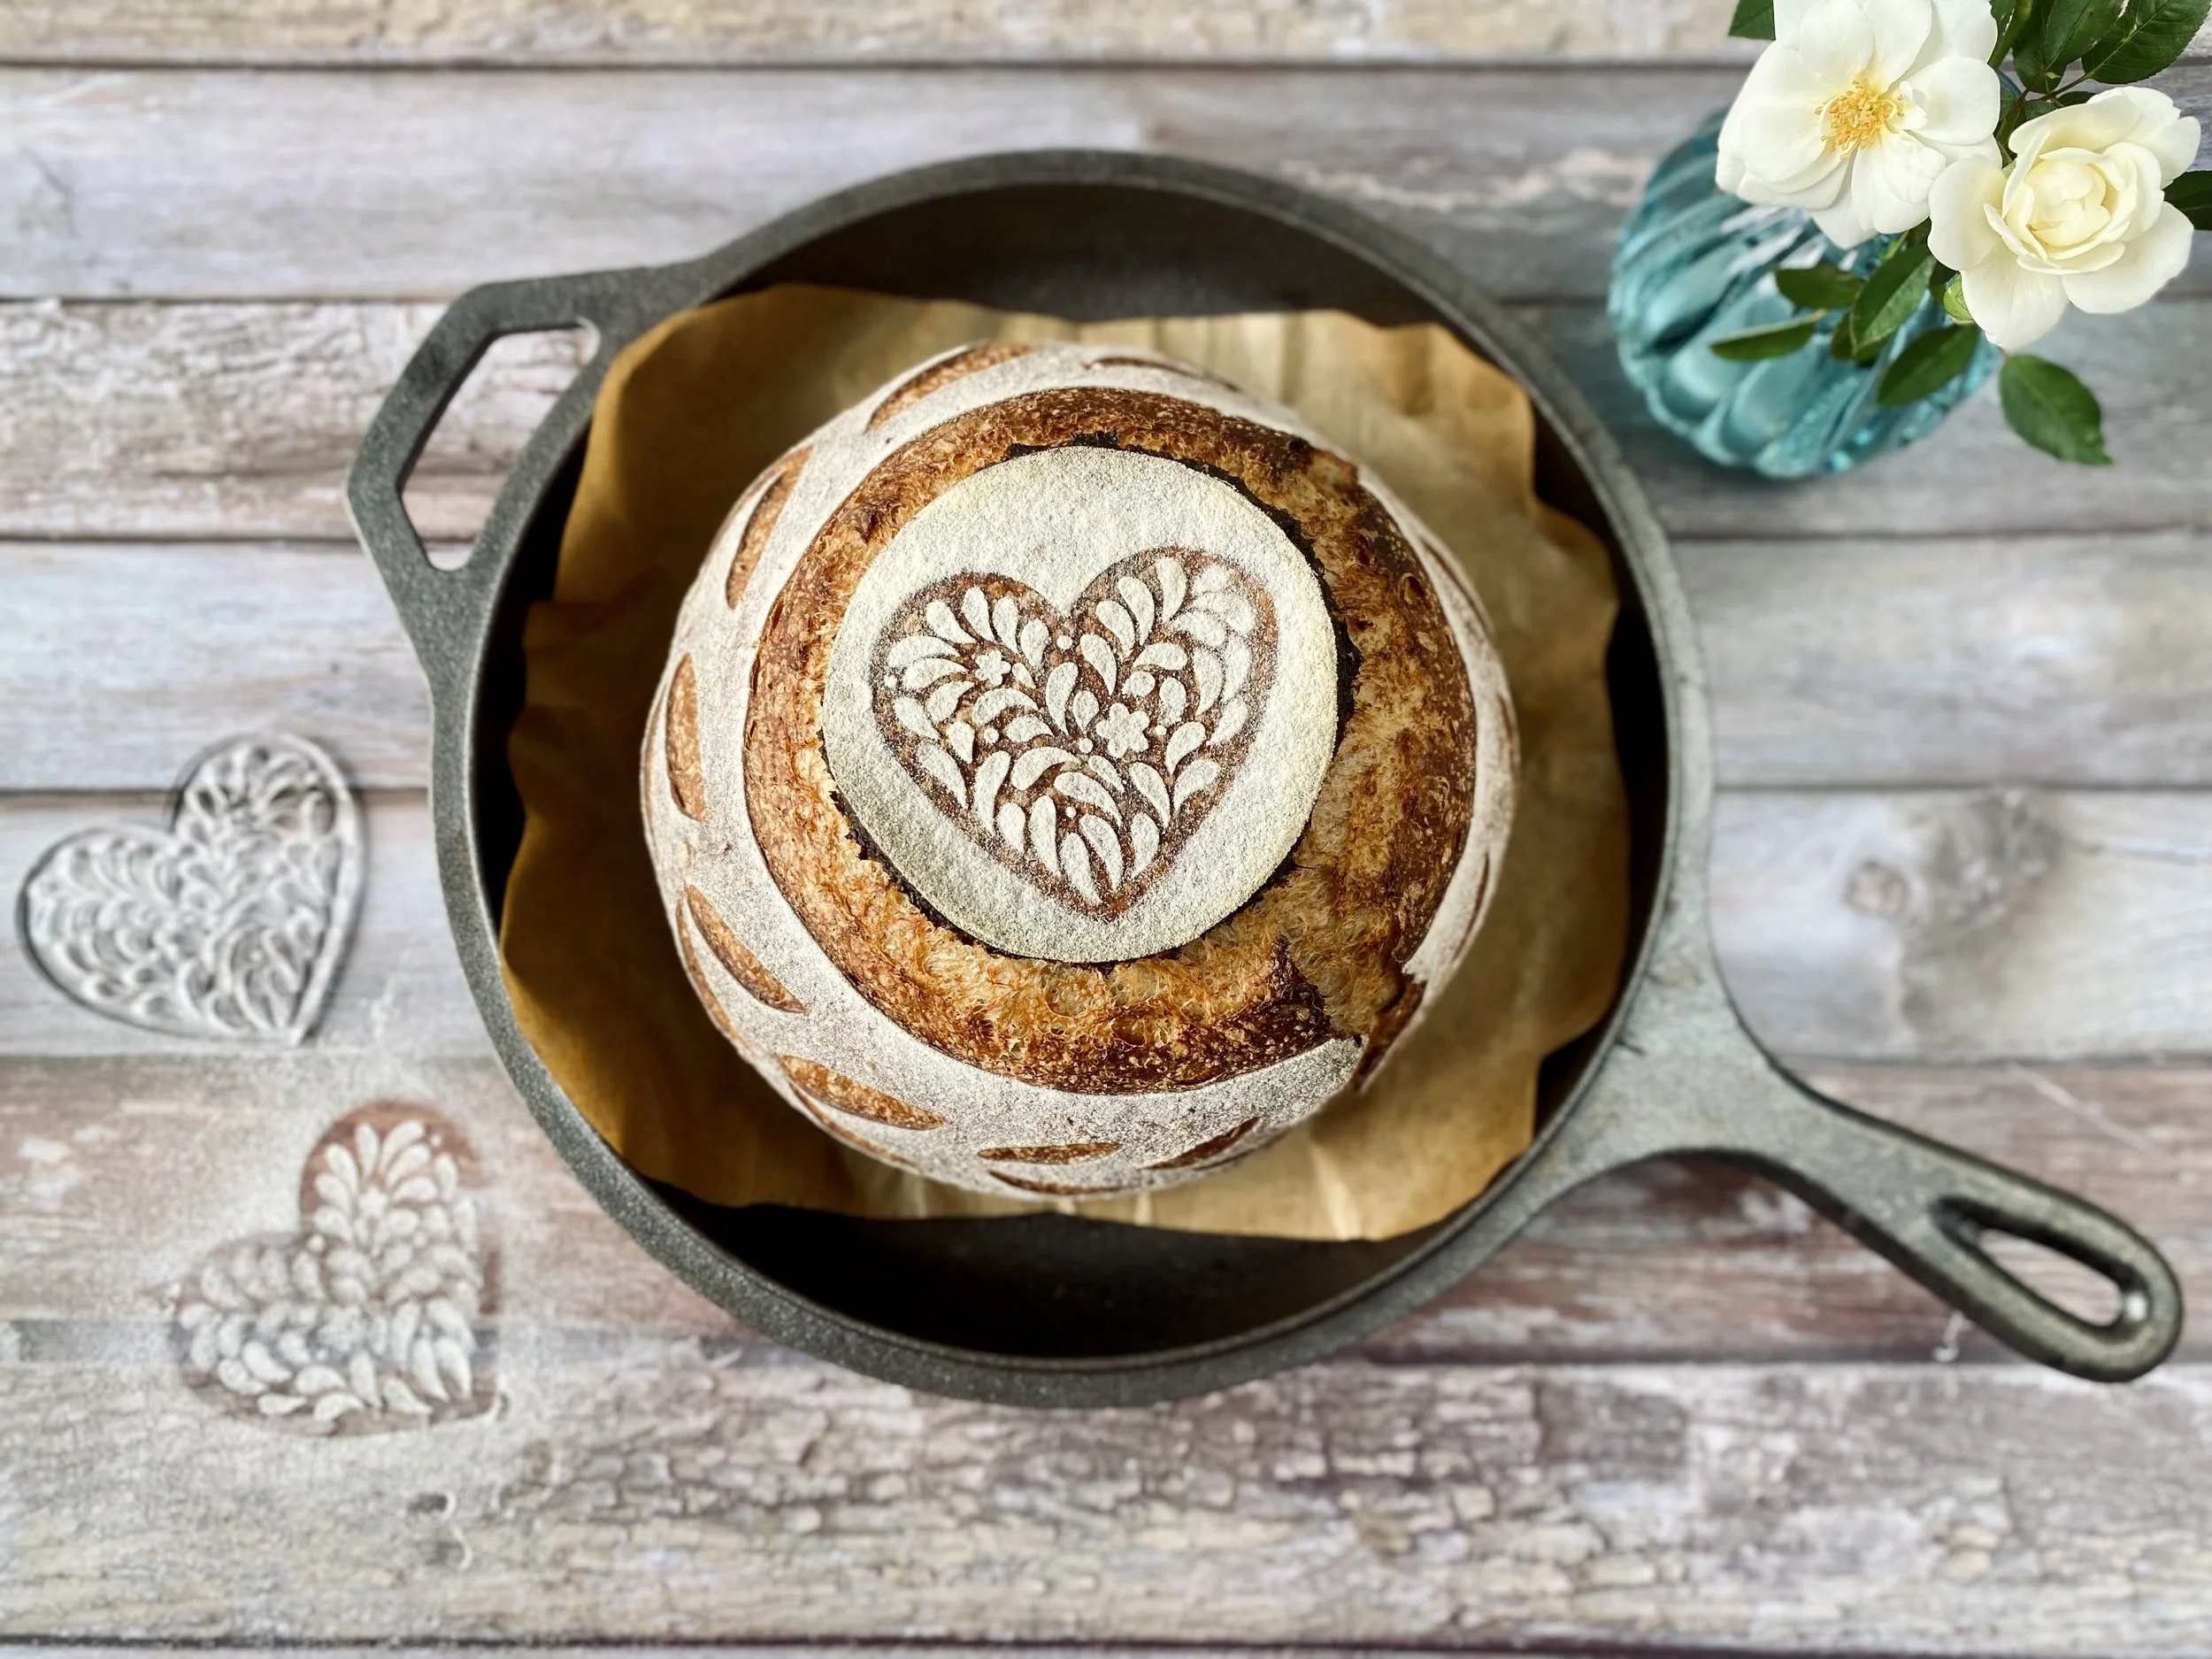
Stencils can be a great way to transform your sourdough bread into a beautiful centrepiece. Our Sourdough Fever stencils are easy to use and will add a special touch to your loaves. Visit our store to see the full range.
We also highly recommend keeping a record of your process, timings, ingredients and techniques. Our Sourdough Fever Record Keeping PDFs will help you do all that and more. This 4-page PDF includes a record-keeping page, a basic sourdough recipe with instructions, and troubleshooting notes. You can download and print it at home. Click the photo below to find out more!
